Live streaming using Node Media Server
Live streaming using Node Media Server
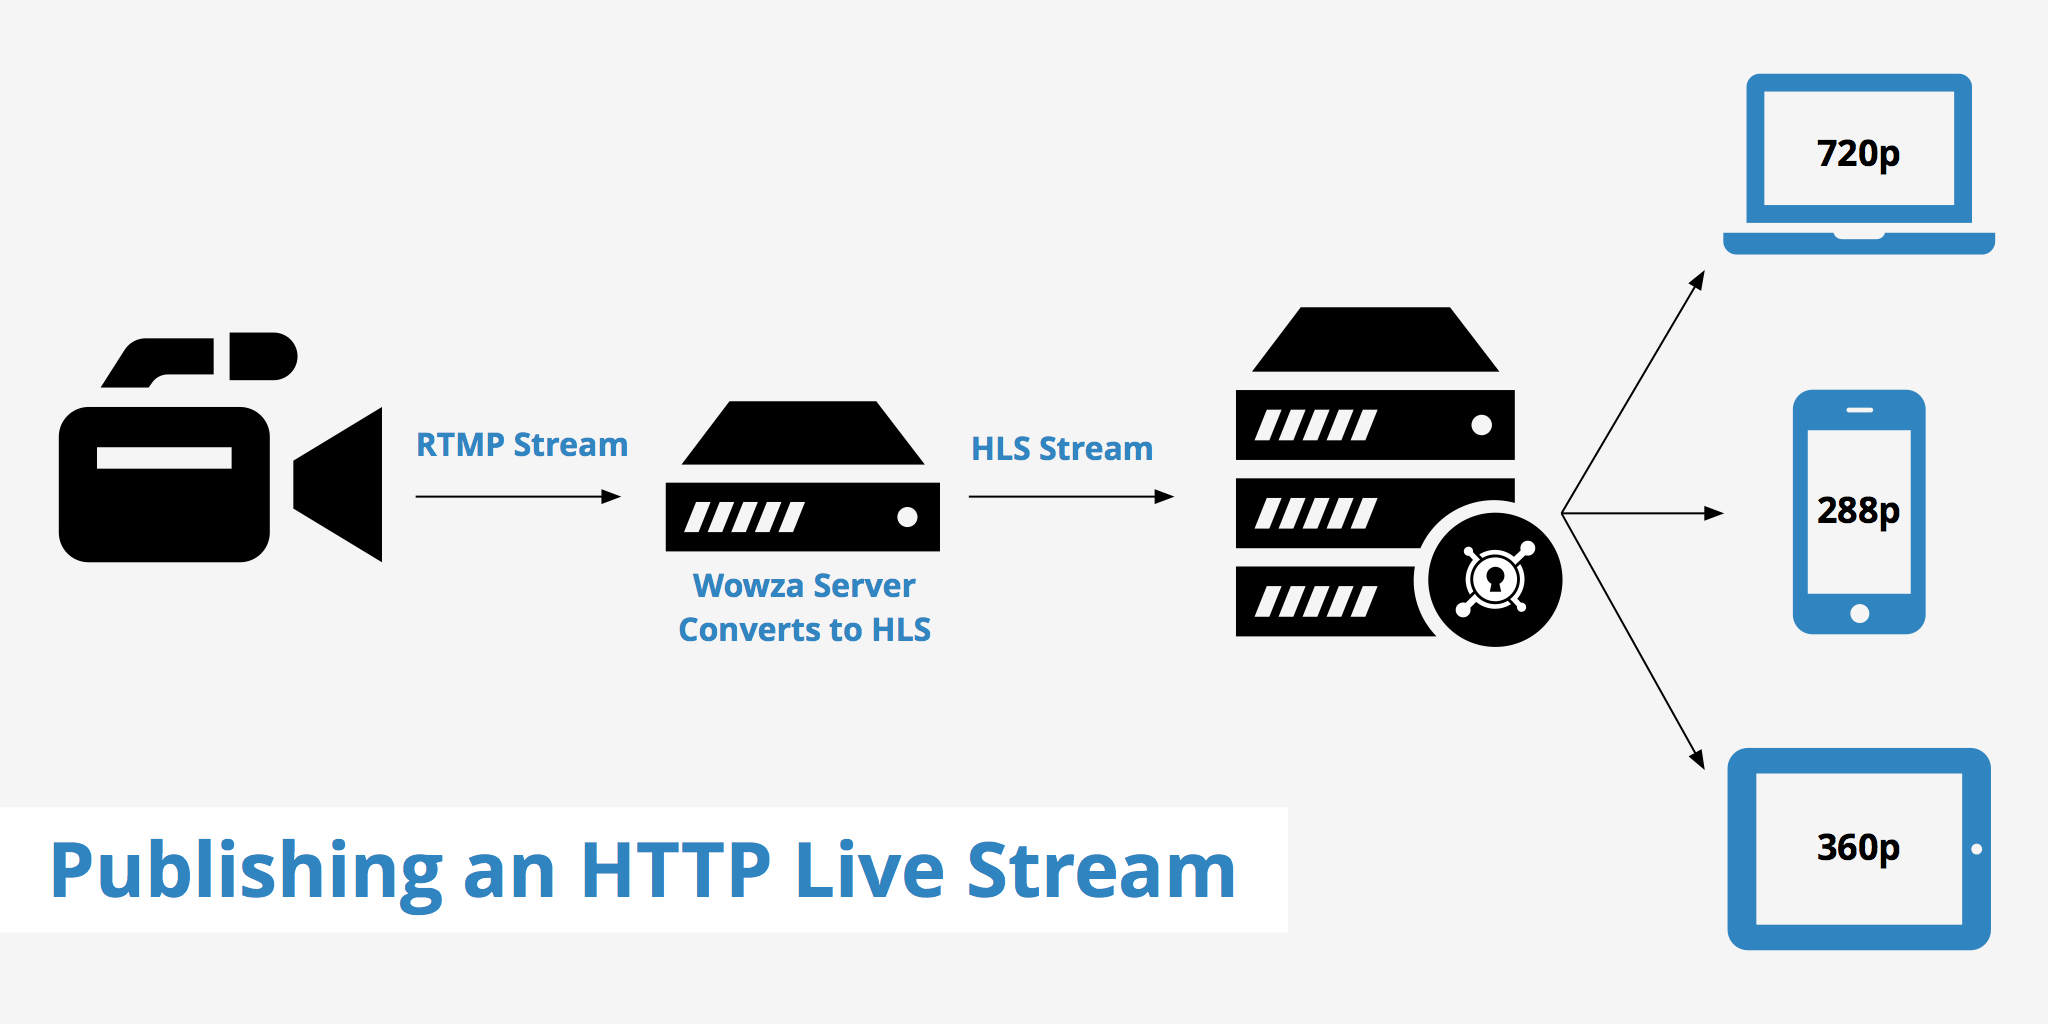
In this blog post you will learn how to create your own live streaming server using Node Media Server
Features of Node media server
- Cross platform support Windows/Linux/Unix
- Support H.264/H.265(flv_id=12)/AAC/MP3/SPEEX/NELLYMOSER/G.711/OPUS(flv_id=13)
- Support GOP cache
- Support remux to LIVE-HTTP/WS-FLV,Support NodePlayer.js playback
- Support remux to HLS/DASH/MP4
- Support xycdn style authentication
- Support event callback
- Support https/wss
- Support Server Monitor
- Support Rtsp/Rtmp relay
- Support api control relay
- Support real-time multi-resolution transcoding
Lets starts building
Before that you need to have Node Js installed on your system
create a folder named "live_streaming"
mkdir live_streaming
cd live_streaming
Install node-media-server
npm install node-media-server
create a file "app.js"
touch app.js
nano app.js
Copy and paste the code
const NodeMediaServer = require('node-media-server');

const config = {
rtmp: {
    port: 1935,
    chunk_size: 60000,
    gop_cache: true,
    ping: 30,
    ping_timeout: 60
},
http: {
    port: 8000,
    allow_origin: '*'
}
};

var nms = new NodeMediaServer(config)
nms.run();
Publish your stream using OBS
Go to settings > stream
Stream Type: Custom
URL: rtmp://localhost/live
Stream key : STREAM_NAME
View the Stream
RTMP
Open VLC player
Media > Open Network Stream
or
Ctrl+N
paste this url in the input
rtmp://localhost/live/STREAM_NAME
http-flv
http://localhost:8000/live/STREAM_NAME.flv
websocket-flv
ws://localhost:8000/live/STREAM_NAME.flv
Now you have created your own live streaming server. To learn more about this see the node-media-server
Thanks for seeing this blog post in bloggie blogs